News
control panel replacement, DIY oven repair, electric oven repair, faulty oven control board, fixing oven control board, oven control board, oven control board installation, oven control board symptoms, oven malfunction, oven repair, oven repair cost, oven repair guide, oven troubleshooting, professional oven repair, replace oven control board
henrycavil767
0 Comments
How to Replace an Oven Control Board
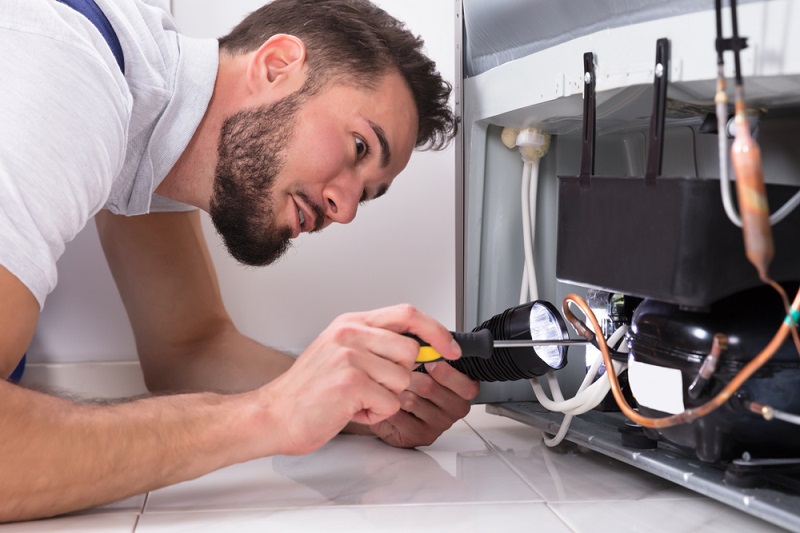
When your oven suddenly stops working or displays inaccurate settings, it could indicate a malfunctioning oven control board. The control board acts as the brain of your oven, regulating temperature, timer settings, and other essential operations. A faulty board can render your oven unusable, but don’t worry—replacing it yourself is often more manageable than you think! In this guide, we’ll take you through the entire oven repair process, step by step, to help you install a new control board safely and effectively.
1. What is an Oven Control Board?
An oven control board is the primary electronic component that manages your oven’s core functions, including regulating temperature, controlling the timer, and displaying error codes. If the control board fails, your oven might not heat properly or function at all. While repairing individual parts of the control board is rarely practical, replacing the board can restore your appliance’s performance.
2. Symptoms of a Faulty Oven Control Board
Before diving into the replacement process, it’s essential to confirm whether the control board is indeed the problem. Here are some common signs that may indicate the need for replacement:
- Unresponsive control panel: Buttons or display screen don’t work.
- Incorrect temperatures: The oven fails to heat or overheats.
- Error codes: Frequent error messages appear on the display.
- Timer issues: Inaccurate or non-functional timers.
- Complete shutdown: The oven refuses to turn on.
If you notice these issues, it’s time to consider replacing the control board as part of your oven repair process.
3. Tools Required for Replacing the Control Board
Before starting, gather the following tools to ensure a smooth replacement process:
- Screwdriver set (Phillips and flathead)
- Needle-nose pliers
- Voltage tester (to ensure the oven is off)
- Protective gloves
- Replacement control board (compatible with your oven model)
4. How to Safely Prepare for Oven Repair
Step 1: Disconnect the Power
Safety is the priority when working with electrical appliances. Unplug your oven from the wall socket or switch off the circuit breaker to eliminate the risk of electric shock.
Step 2: Wear Protective Gear
Wear insulated gloves to protect yourself from electrical components and sharp edges inside the oven.
Step 3: Identify the Control Board Location
The control board is typically located behind the control panel on the front of the oven. You may need to refer to your oven’s manual to locate it precisely.
5. Step-by-Step Guide to Replace an Oven Control Board
Step 1: Remove the Control Panel Cover
Use a screwdriver to loosen and remove the screws securing the oven’s control panel cover. Carefully lift the panel to access the control board underneath.
Step 2: Disconnect Wires from the Control Board
Take a picture of the wiring layout or label each connection before detaching them. This will help you reconnect everything correctly when installing the new board. Use pliers to gently pull out the wire connectors.
Step 3: Take Out the Old Control Board
Remove the screws holding the control board in place. Once the screws are out, gently pull the control board from its slot.
Step 4: Install the New Control Board
Position the new control board in the same slot and secure it with screws. Refer to the picture you took earlier or your labels to reconnect the wires correctly. Ensure each connector is firmly attached.
Step 5: Reassemble the Control Panel
After reconnecting the wires, place the control panel cover back in position and tighten the screws.
6. Troubleshooting Tips After Installation
After replacing the control board, it’s time to test the oven. Plug it back into the power source or turn the circuit breaker on, and follow these troubleshooting steps:
- Test all buttons and functions to ensure they respond correctly.
- Set the oven temperature to a specific level to verify proper heating.
- Look for error codes on the display. If an error appears, double-check the wiring connections.
If everything works correctly, congratulations! Your oven repair was a success.
7. When to Call a Professional
While replacing an oven control board is a straightforward DIY task for many homeowners, there are cases when it’s better to call a professional technician:
- If your oven shows signs of electrical shorts or sparks.
- If the replacement process feels overwhelming or unclear.
- If you’ve replaced the control board but the oven still malfunctions.
Hiring a professional ensures that the job is done correctly and safely, especially for more complex oven issues.
8. Common Questions About Oven Control Board Replacement
Q1: How much does it cost to replace an oven control board?
The cost of replacing an oven control board can vary, with replacement parts typically ranging between $150 and $300. If you hire a technician, expect labor fees to add another $100 to $200.
Q2: How long does the replacement process take?
For most people, replacing the control board takes about 30 to 60 minutes, depending on your experience with DIY repairs.
Q3: Can I reset the control board instead of replacing it?
In some cases, resetting the control board by unplugging the oven for a few minutes may fix minor glitches. However, if the problem persists, replacement is recommended.
Q4: Is it safe to replace an oven control board myself?
Yes, as long as you follow safety precautions and disconnect the power, it is safe to replace the control board yourself.
Q5: Will replacing the control board solve all oven issues?
While replacing the control board resolves many operational issues, problems related to heating elements, thermostats, or wiring might require additional repairs.
9. Conclusion
Replacing an oven control board may sound intimidating, but it’s a straightforward task with the right tools and preparation. By following this step-by-step guide, you can complete the commercial oven repair yourself, saving both time and money. However, if you encounter complications or feel uncertain, don’t hesitate to contact a professional technician. Regular maintenance and prompt repairs ensure your oven remains in top condition for years to come.


Post Comment