Linksys Velop Setup: Using Three Different Methods
Got your hands on Linksys velop mesh wifi system but are struggling with the setup process? If the answer is yes, you need not worry anymore as in this guide we’ll share three different setup methods. The setup guidance is kept simple and straightforward so you do not need expert assistance. The three methods are: setup using Linksys app, Linksys velop setup without app and last is set up using push button. All three methods are reliable and offer seamless and wider wifi coverage throughout your abode. So without any extra delay, let’s begin with it.
Installation Using Linksys App
First if you have any existing router then disconnect it from the modem. Thereafter reboot the modem. As it reboots properly, fetch an Ethernet cable. Using this cable, build a connection between the modem and the parent node of your Linksys velop. You have to connect it to the internet port on the Velop system.
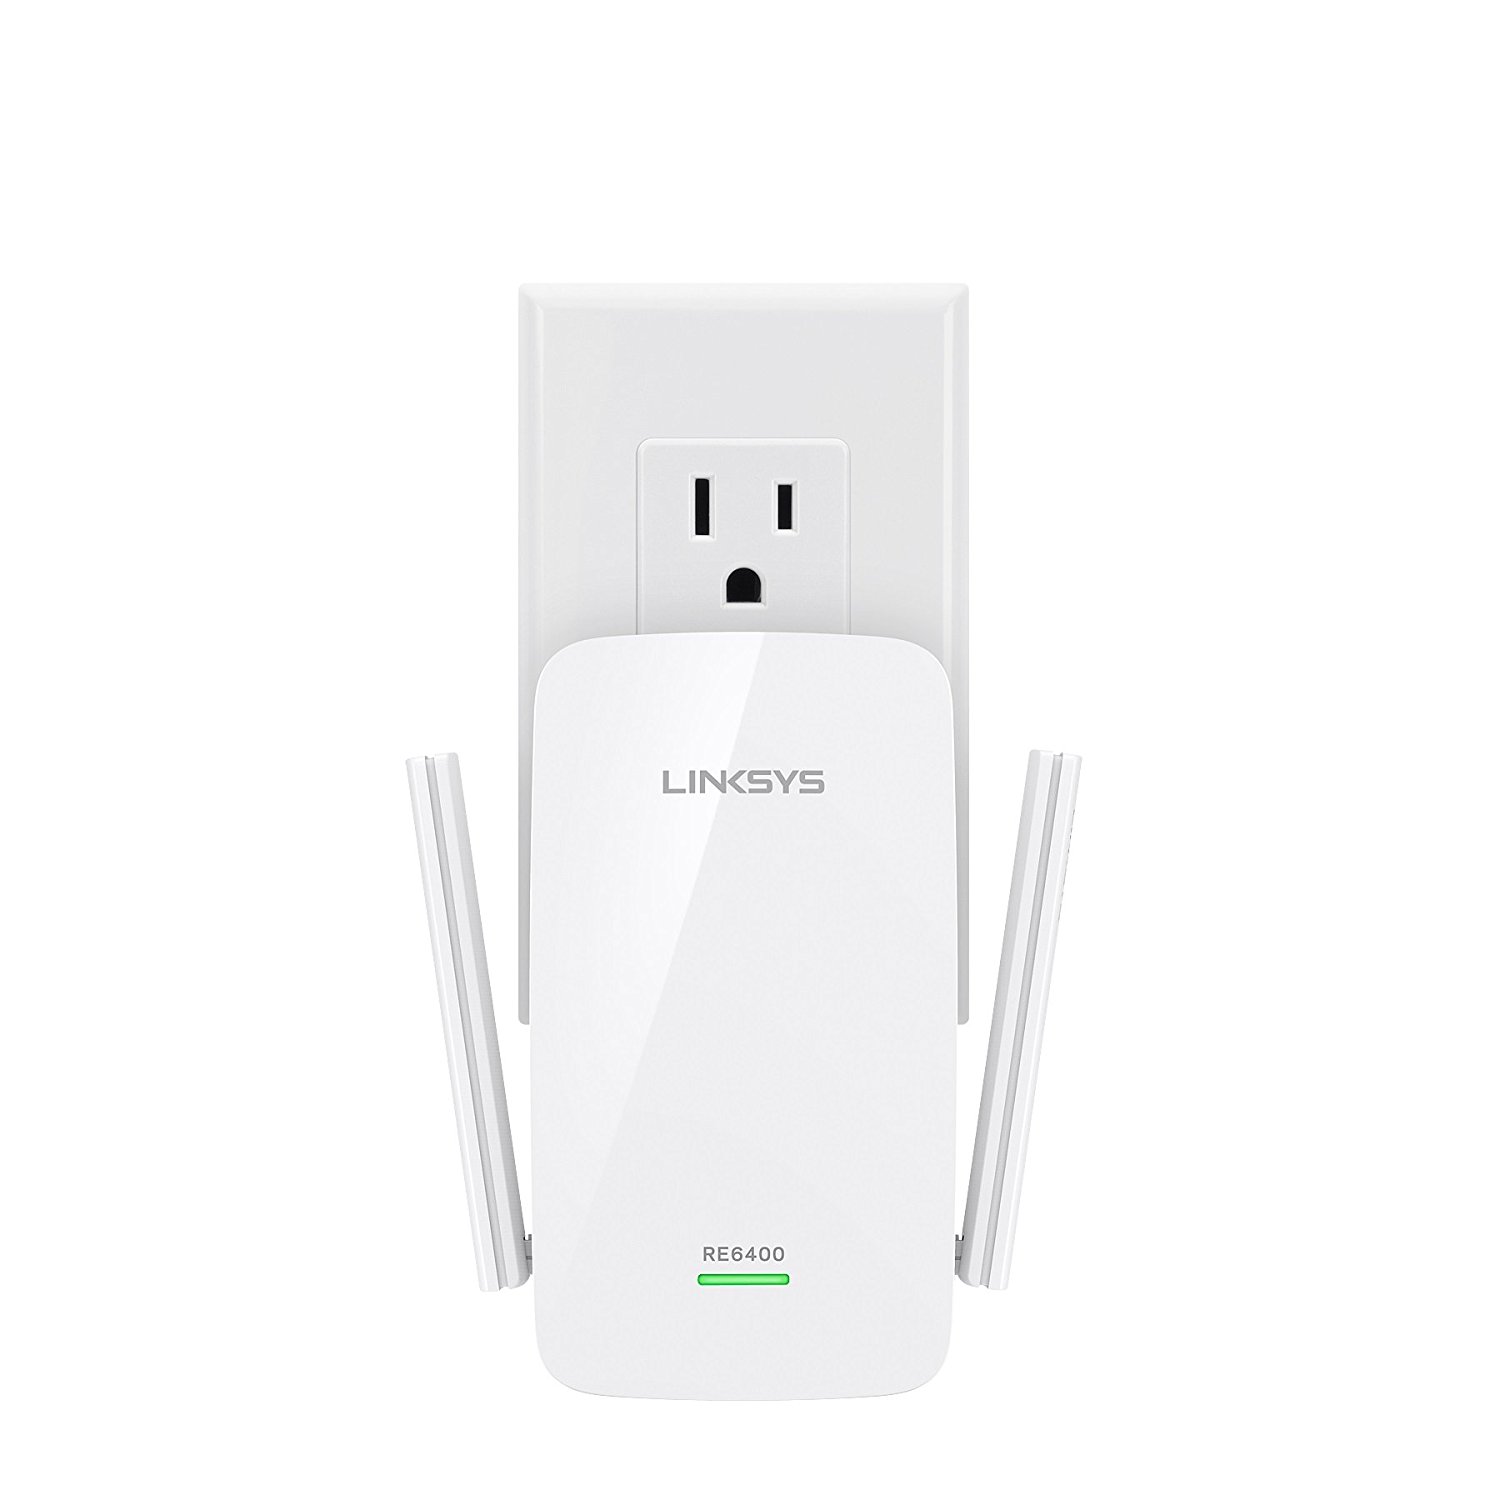
Now using the power adapter, turn on the parent node. Make sure the power LED lights up properly before moving towards the next step.
Moving forward, take your smart device on which you have the Linksys app installed. In case you do not have it already, then get it for free from any of the popular platforms that is Google Play Store and App Store. Additionally, make sure your device is connected to the default wifi network of your Linksys velop. The details for the same are written on the bottom panel of the Velop node.
To complete the Linksys Velop Setup launch the application on your device and just follow the app instructions one by one.
Linksys Velop Setup Without App
Don’t want to install any application on your device for the setup? No issues, you can use the internet browser for the same. Before starting off with the Linksys Velop setup without app steps, first check out the required components:
- An activated modem.
- An Ethernet cable
- A smart device
- Additionally, note down the default wifi network name, password and reset key from the router’s bottom panel.
- Lastly, a vacant power outlet for activation of Velop nodes.
Step-By-Step Guidance
✓ First disconnect the existing router if any. Thereafter reboot the modem.
✓ Now take an Ethernet cable. Connect it to the Internet port on your parent velop node. The second end goes into a port on your modem.
✓ To activate the Velop node, use a power adapter. Let the node boot up properly.
✓ Moving forward, using your smart device like a computer, laptop, iPad or your smartphone connect to the Velop’s default wifi network. Alternatively, if you want wired connectivity you can also make use of an Ethernet wire.
✓ In this step of Linksys velop setup without app you need to launch an internet browser. You can use Internet explorer, chrome, firefox, safari, edge or any other browser of your choice. Hop on to the address field, in it enter http://192.168.1.1 and hit enter key. Alternatively you can also get access to the setup page using myrouter.local.
✓ Now tap on the image of the mobile device. If you are doing the Linksys Velop setup without app for the very first time, then you need to create a new password. For this click on reset password, use the recovery key and then enter a new password. Once done tap on Sign in.
✓ As you sign in, you get access to the dashboard. Now scroll to the bottom you’ll find a link of CA. Tap it and then choose connectivity and then router setup tab.
✓ Finally to complete the Linksys Velop Setup without app, follow the on-screen instructions one by one. As the setup completes, you’ll see a solid blue light on the top panel of the parent node.
Quick 5-Button Push Setup
Users who want an extremely quick and simple setup where there is no requirement of any app or web browser can use this particular method. Remember that for this method your connection type should be automatic (DHCP).
To begin with this setup method, first disconnect your existing router if any. Reboot the modem. After reboot connect the Linksys velop parent node and the modem together with the help of an Ethernet cable.
Now take the power adapter. With its help power on the parent node. Let the power LED stabilize. Also activate the child nodes if any. The difference between the parent node and child node should not be more than 10 feet. Before proceeding further ensure all the nodes have solid purple light on. If not then reset the nodes and let the power LED stabilize.
Moving forward, press the reset button continuously for five times in a time span of 5 seconds. You need to press the reset button only on the parent node. As you do so the purple light on the Velop will start blinking thus indicating that the setup has begun. It will automatically configure the child nodes as well. As the Linksys velop setup without app completes the LED will stabilize.
Finally using the default details as written on the bottom panel, you can connect your devices to the velop system.