Installation Guide for Mild Steel Threaded Flanges
Mild Steel Threaded Flanges are widely used in piping systems due to their ease of installation and strong connection capabilities. These flanges are ideal for applications where welding is not possible or desired. Their threaded design allows them to be attached to pipes with matching threads, making them convenient for quick assembly and disassembly. In this guide, we will walk you through the step-by-step installation process, important considerations, and best practices to ensure a secure and leak-free connection.
Understanding Mild Steel Threaded Flanges
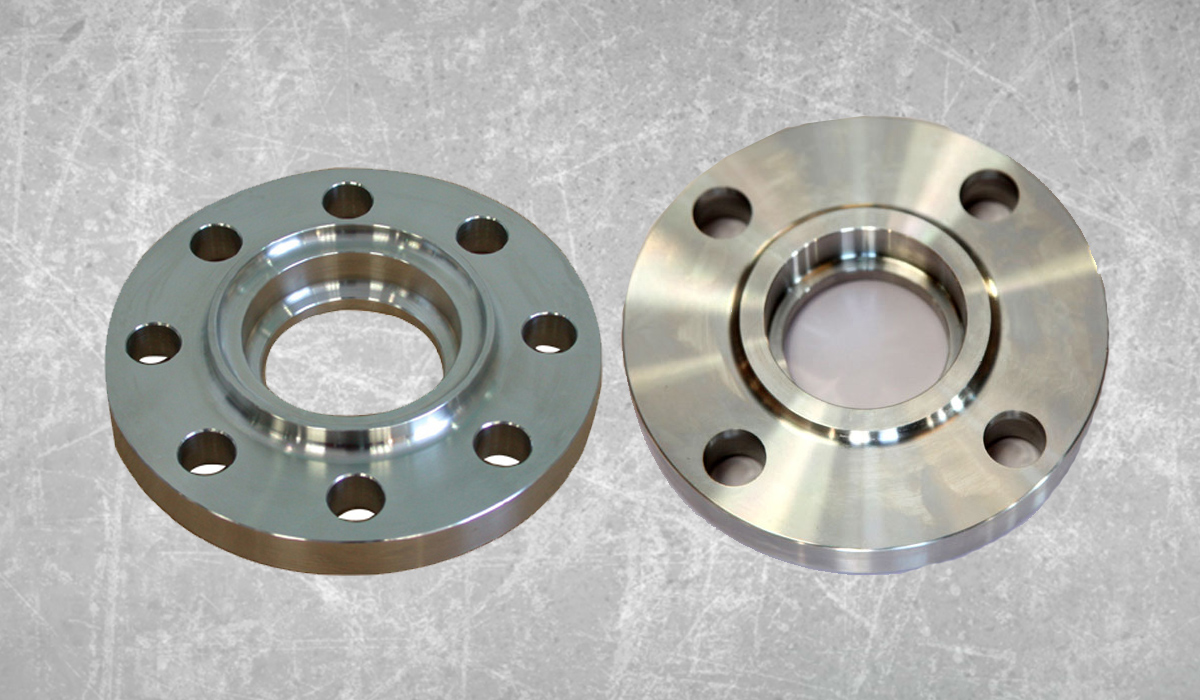
Mild Steel Threaded Flanges are circular metal discs with internal threads that allow them to be screwed onto pipes without welding. They are commonly used in low-pressure and non-critical applications such as water supply, plumbing, and industrial piping systems. These flanges provide a secure connection while allowing for easy maintenance and replacements when needed.
Key Features of Mild Steel Threaded Flanges
- Easy Installation – No welding is required, making installation simpler and faster.
- Reusable – Can be easily removed and reinstalled without damaging the pipe.
- Cost-Effective – Less labor and equipment are needed compared to welded flanges.
- Corrosion Resistance – Mild steel flanges can be coated or galvanized for added protection.
Tools and Materials Required for Installation
Before starting the installation process, gather the necessary tools and materials:
- Mild Steel Threaded Flanges (matching pipe size and threading)
- Threaded pipe
- Pipe wrench
- Thread sealant (Teflon tape or pipe dope)
- Gaskets (if required for sealing)
- Bolts and nuts (if connecting to another flange)
- Torque wrench (for tightening bolts)
Step-by-Step Installation Guide
Step 1: Inspect the Flange and Pipe
Before installation, inspect the Mild Steel Threaded Flanges and the threaded pipe for any defects, dirt, or damage. Ensure that the threads are clean and undamaged to prevent leaks or weak connections. If necessary, clean the threads using a wire brush or compressed air.
Step 2: Apply Thread Sealant
To ensure a leak-free connection, apply a thread sealant such as Teflon tape or pipe dope to the male threads of the pipe. Wrap the tape around the threads 2-3 times in the direction of the thread rotation to prevent it from unraveling during installation. This helps create a tight seal and prevents leaks.
Step 3: Attach the Threaded Flange
Carefully align the Mild Steel Threaded Flange with the threaded pipe and begin screwing it on by hand. Turn the flange clockwise until it fits snugly onto the pipe threads. Avoid cross-threading, as it can damage both the flange and the pipe.
Step 4: Tighten the Flange Using a Wrench
Once the flange is hand-tight, use a pipe wrench to further secure it. Tighten it gradually while ensuring that the flange remains properly aligned with the pipe. Over-tightening should be avoided, as it can cause thread stripping or damage to the flange.
Step 5: Check for Proper Alignment
After securing the flange onto the pipe, check that it is correctly aligned with the mating component (such as another flange, valve, or fitting). Proper alignment ensures that the flange connection is even and reduces the risk of leaks.
Step 6: Install Gaskets (If Required)
If the threaded flange is connecting to another flange, place a gasket between them to create a tight seal. Ensure that the gasket is properly aligned with the bolt holes for a secure fit.
Step 7: Bolt the Flanges Together
If connecting two Mild Steel Threaded Flanges, insert bolts through the holes and secure them with nuts. Tighten the bolts in a crisscross pattern using a torque wrench to ensure even pressure distribution. This prevents flange warping and ensures a leak-proof connection.
Step 8: Final Inspection and Testing
After installation, visually inspect the connection for any misalignment, gaps, or loose fittings. If possible, perform a pressure test by running fluid or air through the system to check for leaks. Tighten connections further if necessary.
Best Practices for Installing Mild Steel Threaded Flanges
- Choose the Right Flange Size – Ensure that the flange size matches the pipe diameter and thread specifications to avoid installation issues.
- Use High-Quality Sealant – A good sealant prevents leaks and extends the lifespan of the connection.
- Avoid Over-Tightening – Excessive force can damage threads and weaken the connection.
- Regular Maintenance – Periodically check for leaks, rust, or loose connections, especially in high-pressure or corrosive environments.
- Follow Manufacturer Guidelines – Always refer to the manufacturer’s specifications for proper torque values and installation instructions.
Common Issues and Troubleshooting
Leakage at the Threaded Connection
- Cause: Insufficient thread sealant or damaged threads.
- Solution: Reapply Teflon tape or pipe dope and ensure proper thread engagement.
Flange Misalignment
- Cause: Improper tightening or uneven pressure distribution.
- Solution: Loosen the flange slightly and realign it before retightening in a crisscross pattern.
Thread Damage
- Cause: Over-tightening or cross-threading during installation.
- Solution: Replace the damaged component and carefully thread the flange onto the pipe.
Loose Bolts on Flange Connection
- Cause: Improper torque application during bolt tightening.
- Solution: Use a torque wrench to tighten bolts evenly according to manufacturer recommendations.
Conclusion
Mild Steel Threaded Flanges offer a practical and efficient way to connect pipes in various industries, from plumbing to industrial applications. Their ease of installation, reusability, and cost-effectiveness make them a preferred choice where welding is not feasible. By following the correct installation steps, using proper sealants, and ensuring secure connections, you can achieve a leak-free and durable piping system. Regular inspection and maintenance will further extend the lifespan of the flanges, ensuring long-term performance in your piping network.


Post Comment