Installation Guide for Acoustic Screen Panels in Offices and Homes
Acoustic screen panels are an effective solution for managing noise in both residential and commercial spaces. Whether you’re looking to reduce sound in a noisy office environment or create a quieter, more peaceful home, acoustic screen panels can significantly improve acoustics and enhance privacy. Installing these panels correctly is essential for optimal performance and aesthetic appeal. This guide will walk you through the installation process for acoustic screen panels in offices and homes, providing practical tips and steps for a smooth setup.
Why Choose Acoustic Screen Panels?
Before diving into the installation process, it’s important to understand the advantages of acoustic screen panels:
- Noise Reduction: These panels help to absorb sound, reducing echoes and background noise in open-plan spaces.
- Privacy: Acoustic screen panels can provide more privacy by separating spaces and preventing sound leakage between rooms.
- Aesthetic Appeal: Available in various designs, materials, and finishes, they can complement any interior decor while enhancing functionality.
- Versatility: Whether in an office, home studio, or living room, these panels work in a range of environments, providing both acoustic and visual benefits.
Preparation Before Installation
Choosing the Right Acoustic Screen Panels
The first step in the installation process is selecting the right acoustic screen panels for your space. Consider the following factors:
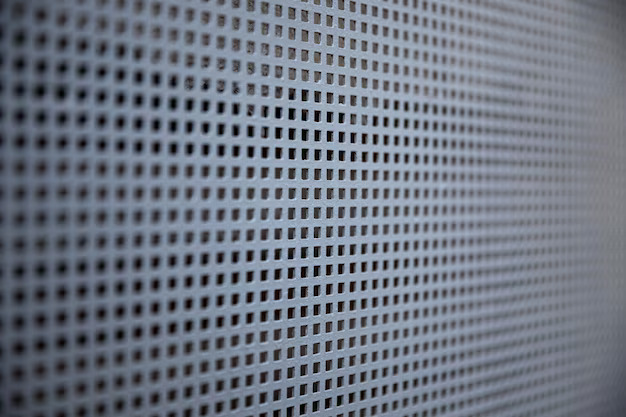
- Material: Acoustic screen panels come in various materials such as fabric, wood, or foam. Choose one that suits your aesthetic preferences and performance requirements.
- Size and Shape: Depending on the area you’re covering, you may need larger panels for open spaces or smaller panels for specific areas like workstations or home offices.
- Design: Acoustic panels are available in different styles, from sleek, modern designs to more traditional looks. Choose a design that complements your existing decor.
- Acoustic Performance: Check the sound absorption ratings of the panels to ensure they provide the desired level of noise reduction.
Tools and Materials Required
Before starting the installation, gather the following tools and materials:
- Acoustic screen panels
- Measuring tape
- Pencil and ruler
- Level
- Screws, brackets, or adhesive (depending on your mounting preference)
- Drill and screwdriver
- Wall anchors (for drywall installation)
- Ladders or step stools (if required for higher placements)
Step-by-Step Installation Process for Acoustic Screen Panels
Step 1: Measure and Mark the Placement Area
- Select the Location: Determine where you want to place the acoustic screen panels. Common locations include walls, ceilings, or as partitions in open office spaces or living areas.
- Measure the Area: Use a measuring tape to determine the exact area where the panels will be installed. Mark the corners and edges lightly with a pencil to ensure accurate placement.
- Determine Panel Spacing: If you’re installing multiple panels, decide on the spacing between them. Typically, leaving 2–4 inches between panels can help with sound absorption while maintaining a balanced look.
Step 2: Prepare the Surface
- Ensure Clean Walls: The surface where you’ll mount the panels should be clean and dry. Wipe down the wall to remove any dust or debris.
- Check for Studs: If you are installing the panels on drywall, it’s crucial to find the studs for secure mounting. Use a stud finder to mark the stud locations with a pencil.
- Use Wall Anchors (If Necessary): If your panels are heavy or you can’t align them with studs, use wall anchors to ensure they stay in place. Wall anchors are especially important for drywall installations.
Step 3: Mounting the Panels
You have two main options for mounting acoustic screen panels: using screws and brackets or adhesive.
Using Screws and Brackets:
- Pre-Drill Holes: If your panels require screws, pre-drill holes in the wall in alignment with the marked locations for the studs.
- Attach Brackets to the Panels: Some acoustic panels come with brackets that need to be attached to the back of the panel. Follow the manufacturer’s instructions for mounting the brackets securely.
- Screw the Panels into Place: Carefully place the panel against the wall, aligning it with the pre-drilled holes. Using a screwdriver, secure the panel by screwing it into the wall or studs.
- Level the Panel: Use a level to ensure the panel is straight before tightening the screws fully.
Using Adhesive:
- Apply Adhesive: For panels that come with adhesive backing or if you are using your own adhesive, apply a uniform layer of adhesive to the back of the panel.
- Press the Panel onto the Wall: Position the panel at the marked location on the wall. Press firmly to ensure the adhesive bonds well.
- Allow Time for Bonding: If you’re using adhesive, allow time for the adhesive to set and bond to the wall before placing additional panels or applying pressure.
Step 4: Install Multiple Panels
If you’re installing several acoustic screen panels:
- Ensure Even Spacing: Use your ruler to maintain consistent spacing between each panel, ensuring the aesthetic and acoustic performance are balanced.
- Align the Panels Properly: As you install each panel, use a level to check that they are perfectly aligned horizontally or vertically, depending on your design.
Final Touches and Maintenance
Final Inspection
Once all the panels are installed, take a step back and inspect the overall setup. Ensure that all panels are securely mounted and aligned properly. If using adhesive, double-check that the panels are firmly fixed to the wall.
Regular Maintenance
To maintain the performance and appearance of your acoustic screen panels, consider the following:
- Dust regularly: Dust the panels with a soft cloth or vacuum cleaner attachment to maintain their appearance.
- Check for damage: Periodically check for any loose panels, stains, or damage to the material. Repair as needed to ensure continued performance.
Read also: Clayton Taxi Cabs Melbourne – Airport Taxi Services In Melbourne
Conclusion
Installing acoustic screen panels in your office or home can greatly enhance sound quality, reduce noise distractions, and improve privacy. By following this detailed installation guide, you can achieve optimal results and enjoy the acoustic benefits these panels offer. Whether you choose screws and brackets or adhesive, taking the time to measure, mark, and mount your panels correctly will ensure both functionality and aesthetic appeal in your space.


Post Comment