How do I customize the questions in a Gimkit game?
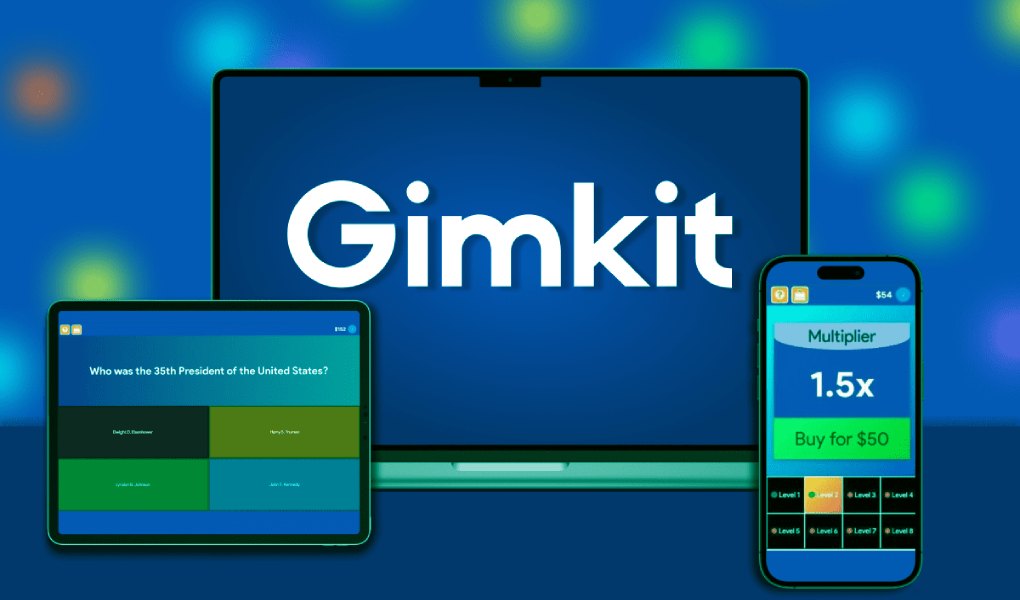
Gimkit is an engaging and interactive learning platform that makes quiz-based activities fun for students and easy to manage for teachers. While it comes with pre-made kits (sets of questions), one of its best features is the ability to fully customize the questions to fit your unique needs. Whether you’re teaching history, math, or any other subject, creating custom questions ensures the content is aligned with your specific learning objectives.
In this article, we’ll guide you through the steps to customize questions in Gimkit , so you can tailor your quizzes for your students.
Why Customize Questions in Gimkit?
Customizing your own questions offers several advantages:
- Personalization: You can tailor questions to your specific classroom content or lesson plan.
- Relevance: Ensure questions reflect the level of understanding of your students.
- Creativity: Design your questions in fun, thought-provoking ways that go beyond traditional quizzes.
Now, let’s dive into the steps for customizing your questions.
Step 1: Create a New Kit or Edit an Existing Kit
To get started, you need to either create a new kit (question set) or modify an existing one. Here’s how:
- Log into your Gimkit account. If you don’t have an account, you can easily sign up at gimkit.com.
- Navigate to the “Kits” section in your dashboard. This is where you’ll find all your existing kits or the option to create a new one.
- To create a new kit, click the “New Kit” button. If you want to modify an existing kit, simply select the one you want to edit from the list.
Step 2: Set Up Your Kit
Once you’ve chosen to create or edit a kit, it’s time to set it up. Here’s what you do:
- Name Your Kit: Give your quiz a clear title, especially if you’re planning on making multiple kits for different topics or classes.
- Choose a Subject: While optional, selecting a subject can help organize your kits and make them easier to find later.
- Select a Language: Make sure the language matches the questions you intend to ask.
- Choose Question Types: You can decide between multiple-choice, true/false, and more. Keep your quiz format in mind when choosing these.
Step 3: Add Custom Questions
Here comes the fun part—adding your custom questions! You can create unique questions that cater to your lesson plans and classroom needs. Here’s how:
- Click “Add Question”:
- In a new kit, you’ll see the option to add questions right after setup.
- In an existing kit, click “Edit” and then “Add Question.”
- Enter Your Question: Write your question in the question field. Be clear and concise, and make sure your question matches the format you’ve chosen (e.g., multiple choice, true/false).
- Add Answer Choices (for multiple-choice questions):
- Write the correct answer in the “Correct Answer” box.
- Provide incorrect options in the other boxes. You can add multiple distractors to make the quiz more challenging.
- Set the Correct Answer:
- If you’re doing a multiple-choice quiz, mark which answer is correct.
- For true/false, simply set it to true or false.
- Add Media (Optional):
- You can enhance your questions by attaching images or audio files.
- To do this, click the image or audio icon below the question text box. This can make the quiz more engaging and visually appealing, especially for younger students.
- Adjust Points:
- By default, each question is worth 100 points, but you can customize this if you want certain questions to be worth more or less.
Step 4: Organize and Save Your Questions
After adding all your custom questions, make sure they’re well-organized:
- Rearrange Questions: Drag and drop questions to change their order. This is especially helpful if you want to group questions by topic or difficulty level.
- Double-Check Everything: Before saving, review all your questions and answers to ensure accuracy.
- Save Your Kit: Once you’re satisfied with the custom questions, click “Save” to store your kit. You can now use it in live games or assignments for your students.
Step 5: Use the Kit in a Game
Now that your custom kit is ready, it’s time to use it in a game. Here’s how:
- Select Your Kit: From your Kits library, choose the customized kit you’ve created.
- Start a New Game: Click “Play” to start a live game with your students, or use the “Assignments” option to assign it as homework.
- Monitor Results: Once the game begins, you can track your students’ performance in real-time. Gimkit provides feedback on how well students are answering your custom questions, allowing you to identify areas that might need more focus.
Bonus: Collaborating with Others
Gimkit code allows you to collaborate with other educators. If you’re working with a teaching team, you can share your custom kit with others by clicking the “Share” button in the kit’s menu. They can edit or use the kit in their classes, making it easy to collaborate across subjects or grade levels.
Conclusion
Customizing questions in Gimkit offers endless possibilities for making learning fun, engaging, and specific to your classroom needs. By following these steps, you can create a tailored experience that challenges your students while keeping them engaged. Whether you’re testing vocabulary, math skills, or historical facts, customized Gimkit games make learning interactive and exciting.


Post Comment