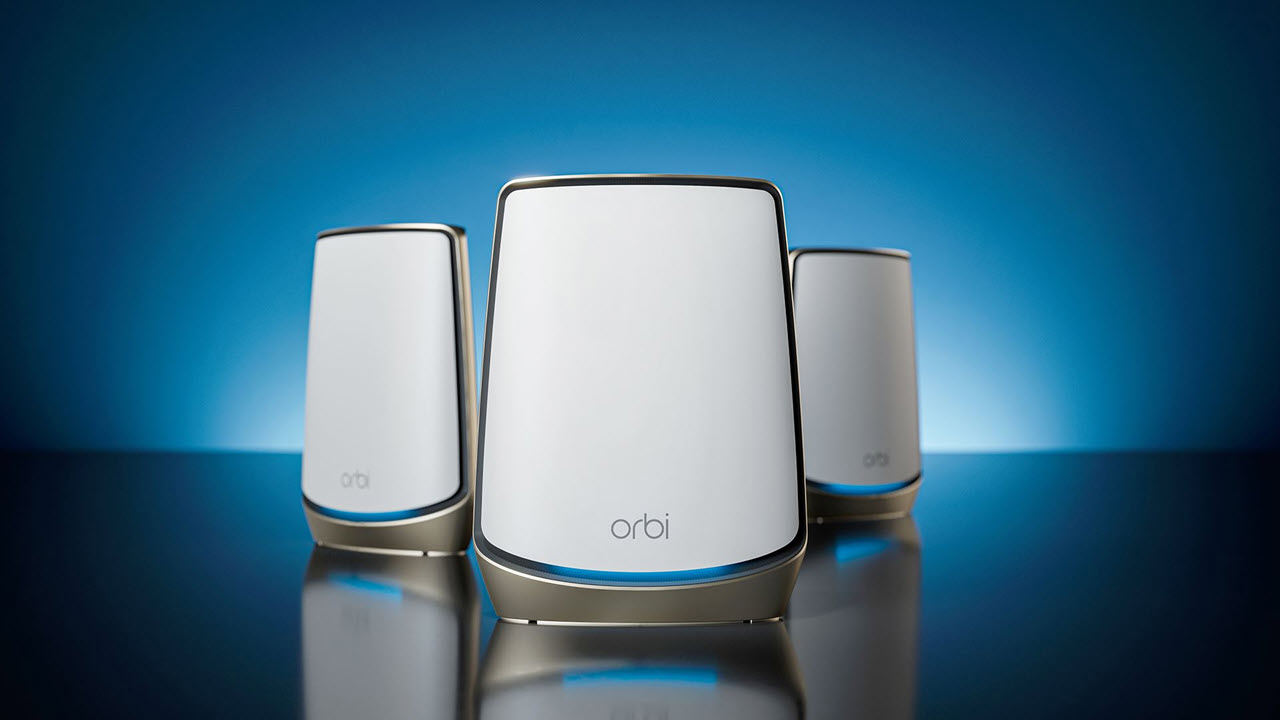
Orbi Admin Login: How to Secure Your Orbi Network the Right Way
Let’s be honest—most people set up their router, connect their devices, and never look back. It works, so they leave it alone. But here’s the deal: if you’re using a Netgear Orbi system and haven’t touched the admin settings since day one, you’re leaving your network way too exposed.
That’s where the Orbi Admin Login comes in. Whether you’re just finishing setup or you’ve been running your Orbi for months, logging into the admin dashboard through orbilogin or orbilogin net gives you full control over your home network—and more importantly, lets you lock it down.
I’ve helped a lot of people secure their Orbi systems over the years. This guide is the real-world breakdown—no fluff, no guessing.
Why You Need to Log In to Your Orbi Admin Panel
You might be thinking, “Why mess with it if it’s working?” But here’s why the admin dashboard matters:
- You can change the default password (you should)
- You can update the firmware manually
- You get access to security settings and parental controls
- Also, you can turn off features you don’t use.
- see everything that’s connected to your network
Basically, it’s the control room. And if you don’t lock it down, someone else might try to get in.
Step 1: Connect to Your Orbi Network
To access the Orbi Admin Login, you’ve got to be on the Orbi Wi-Fi network. That means either:
- Connecting your PC/laptop via Ethernet to the main Orbi router
- Or connecting wirelessly to your Orbi Wi-Fi from a phone, tablet, or computer
You can’t log in from mobile data or from a different Wi-Fi network. It has to be your Orbi’s signal.
Step 2: Open a Web Browser and Visit orbilogin.net
Now open your browser—any browser, Chrome, Safari, Firefox, doesn’t matter.
In the address bar, type: orbilogin.net or 192.168.1.1
Hit Enter. This should bring you to the Orbi login screen. If it doesn’t, double-check you’re connected to the right network.
Step 3: Enter the Default Login (Or Your Custom One)
The default login for most Orbi systems is:
- Username: admin
- Password: password
Unless you’ve already changed it. If you haven’t changed it yet, now’s the time to do it.
Once you log in, the system may ask you to update the admin password. Do it. Don’t put this off.
Pick a strong password—nothing like “admin123” or “orbi2024.” Use something you’d never use elsewhere.
Once updated, make sure to save it somewhere secure. You’ll need it again anytime you want to make changes later.
Step 4: Change the Wi-Fi Network Name and Password
Yes, your Orbi network works fine out of the box. But the default network name (SSID) and password are printed on the router. That’s not good for long-term security.
Inside the admin dashboard:
- Go to Wireless Settings
- Change the SSID to something unique—not your name or address
- Set a strong Wi-Fi password
Use WPA2 or WPA3 security (whatever your model supports). This stops unwanted guests from hopping on your signal and using your bandwidth—or worse.
Step 5: Check for Firmware Updates
Routers get software updates too. Not just your phone or laptop.
Inside the dashboard:
- Go to Advanced > Administration > Firmware Update
- Click Check or Update
Sometimes the update won’t show up automatically. You can also get the latest firmware for your model from Netgear’s website and upload it by hand through the control panel.
New versions of firmware often fix bugs and close security holes. Do not skip this.
Step 6: Review Connected Devices and Settings
Now take a look at everything that’s connected to your network. You’ll be surprised—TVs, phones, smart speakers, maybe even devices you forgot about.
If something looks off, you can block or rename it.
Under Attached Devices or Device Manager, you can:
- Rename devices (helpful for identifying them later)
- Block unknown devices
- Set priority for certain devices (like your work laptop or gaming console)
While you’re in the settings, consider disabling WPS. It’s convenient, but also a known security risk.
Step 7: Turn On Guest Wi-Fi (Optional)
If you have friends over often or clients if you work from home, it’s smart to set up a separate guest Wi-Fi.
Inside the admin dashboard:
- Open the Guest Network option.
- Enable it
- Name it and enter password that’s different from your main Wi-Fi.
The main guest network will keep your main network protected while still letting guests get online.
Final Thoughts
The Orbi Admin Login is where the real power and protection of your Netgear Orbi system lives. If you never log in, you’re missing out—and you’re also leaving yourself open to risk.
Don’t just plug in your Orbi and forget it. Spend 15–20 minutes walking through the dashboard via orbilogin.net change the important stuff, and take control of your home network.
Once you’ve got it set up right, it mostly runs itself. And if something ever goes sideways, you’ll already know where to go and how to fix it.
Simple steps. Big payoff. That’s how you get a secure, solid Orbi network that you don’t have to think about again.


