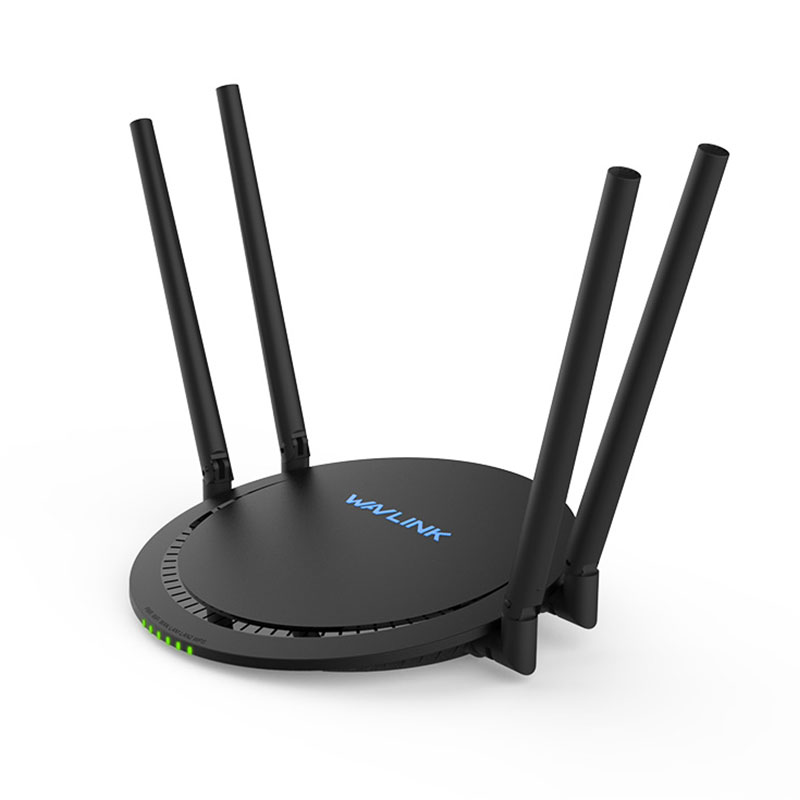
How to Reset and Reconfigure Your Wavlink WiFi Extender?
Resetting a networking device or internet device will wipe all data from the device and then you have to configure it again. It can be time consuming, but help in wipe out the bugs from the WiFi device.
Here, you will learn how to reset the Wavlink extender and how to configure it again. But first, you have to know why reset your extender device.
1. When and Why Should You Reset Your Wavlink WiFi Extender?
First, ask yourself: Why do I want to reset this thing?
Here are a few solid reasons:
- You forgot the admin password.
- You changed your router’s SSID or password.
- The extender is not connecting or frequently dropping connection.
- You’re giving it to someone else or setting it up in a new house.
Whatever your reason, a reset is like wiping the slate clean. It takes the device back to its factory settings like it just came out of the box.
2. How to Reset Your Wavlink WiFi Extender?
This is the no-nonsense, do-it-right way. Forget apps or websites this is a physical reset.
- Plug it in. Connect the Wavlink extender to a power socket. Make sure the power LED is on.
- Locate the reset button. Grab a paperclip, needle, or pin. You’ll find a tiny hole labeled “Reset” on the extender usually at the back or underside.
- Hold it down. Press and hold the reset button for 10 to 15 seconds. Don’t let go early. You might see the LEDs start to blink. That’s a good sign.
- Let it reboot. Release the button. Wait about a minute or two while the extender resets. The lights will blink and then stabilize.
And that’s it. You’ve now reset your Wavlink extender. But don’t stop here it’s a blank slate now. You need to reconfigure it to make it useful again.
3. How to Reconfigure Your Wavlink WiFi Extender?
Let’s get this beast up and running again.
Option A: Via Web Browser
Here’s the cleanest way to set things up using a laptop or phone.
- Connect to the Extender. After the reset, check your WiFi list. Look for a network like Wavlink-N or Wavlink-5G. Connect to it. No password needed at this point.
- Access the Setup Page. Open a browser (Chrome, Safari, Firefox—whatever you like). In the address bar, type: 192.168.10.1 or ap setup. Hit Enter. You should see the Wavlink setup wizard.
- Login Time. The default username is usually admin Password: admin (Check the label on the device if that doesn’t work.)
- Scan for Your Main WiFi Network. The extender will now search for nearby WiFi signals. Find your main router’s network name (SSID) and click on it.
- Enter the WiFi Password. Type in the correct WiFi password for your main router. Double-check it this part has to be exact.
- Choose SSID and Finish. You can keep the extender SSID the same as your router (for seamless roaming) or name it something like MyWiFi_EXT. Hit Apply/Finish.
- Wait for Reboot. The extender will reboot, and you’ll get kicked off the Wavlink repeater setup WiFi. Now, go back and connect to the new extended network.
4. Tips for Better Performance Post-Reconfiguration
Now that your Wavlink WiFi extender is alive again, keep it that way with a few quick tips:
- Perfect Placement: Halfway between your router and the dead zone is ideal. Too far from the router and it won’t pick up signal. Too close, and you won’t be expanding anything.
- Avoid Obstructions: Stay clear of thick walls, microwaves, cordless phones, or anything that interferes with WiFi.
- Keep Firmware Updated: Every once in a while, log into the Wavlink settings and check for updates. They fix bugs and boost performance.
- Use Different Bands Wisely: If your extender supports both 2.4GHz and 5GHz, use 5GHz for speed and 2.4GHz for range.
The Conclusion
Hopefully, you have reset your Wavlink WiFi range extender with the help of our provided instructions. After that, hope you have reconfigured your device using setup methods given above.


